Monday, July 23, 2007
Carnival Elevation


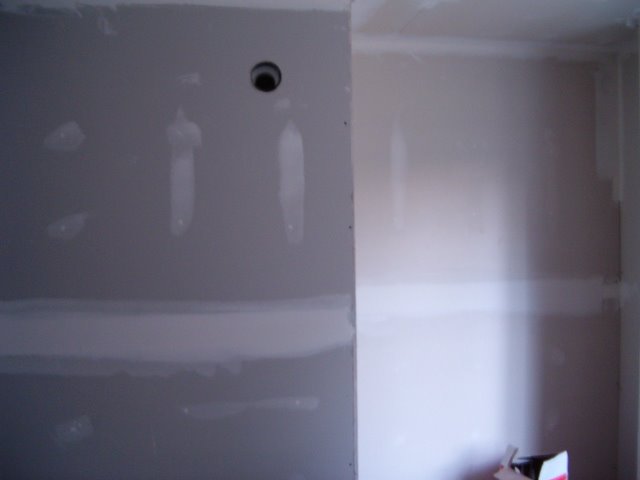
Today's success lay in Lorene bottom-lining the paint prep for the bathroom- what motivation! However, after everything was taped, removed, or covered in plastic we opened the paint to find that it had turned gluteny over the winter and isn't useable- yuck! So we moved on to attend to the poor stair risers- now transformed from their boring look of 'plywood' to a dazzling display of color that elevates enthusiasm as it elevates your body. Outside of the house, Tim installed and caulked the garage trim which he's prepped last week.
Sunday, July 22, 2007
Places to Rest

The newest addition to the house is the bench rail on the front porch, built by E-Co Lab (thanks, Tim!). It really improves the feel of the porch, and adds a lot of places to sit. Still to come is a piece of molding that will give it a 'layer cake' effect
as you can see on the edge, here

Here's a look from the east...

and from the front

Wednesday, July 18, 2007
So Long, so long ago!
It's been almost a year, and lots of drama has unfolded... but the house has unfolded as well! So rather than trying to do a comprehensive backlog, I'm going to bring us up to date snippet by snippet. Starting with... the sunshade that was erected in June to keep the bright beams out of my first floor rooms. Grapes and clematis have been planted at the base. Soon I'm aiming to add wisteria over the west bedroom. When they grow, the ugly (but temporary) landscape fabric will be removed. In the winter, the leaves will fall off, letting passive solar gain wam the house. Sunshades aren't needed on the second floor windows because the overhang of the roof was designed to block the high summer sun, but let in the low winter sun.


Three types of clematis and one of the three types of grapes...
and the west sunshade!


Three types of clematis and one of the three types of grapes...
and the west sunshade!


Saturday, August 26, 2006
In August...
The drywall is going up...

Almost all of the supplies that have filled the yard are gone...
The roof is on...
There are morning glories amnog the weeds in the backyard (that's Beth's birthday flower- appropriate since the closing will be around her birthday)...
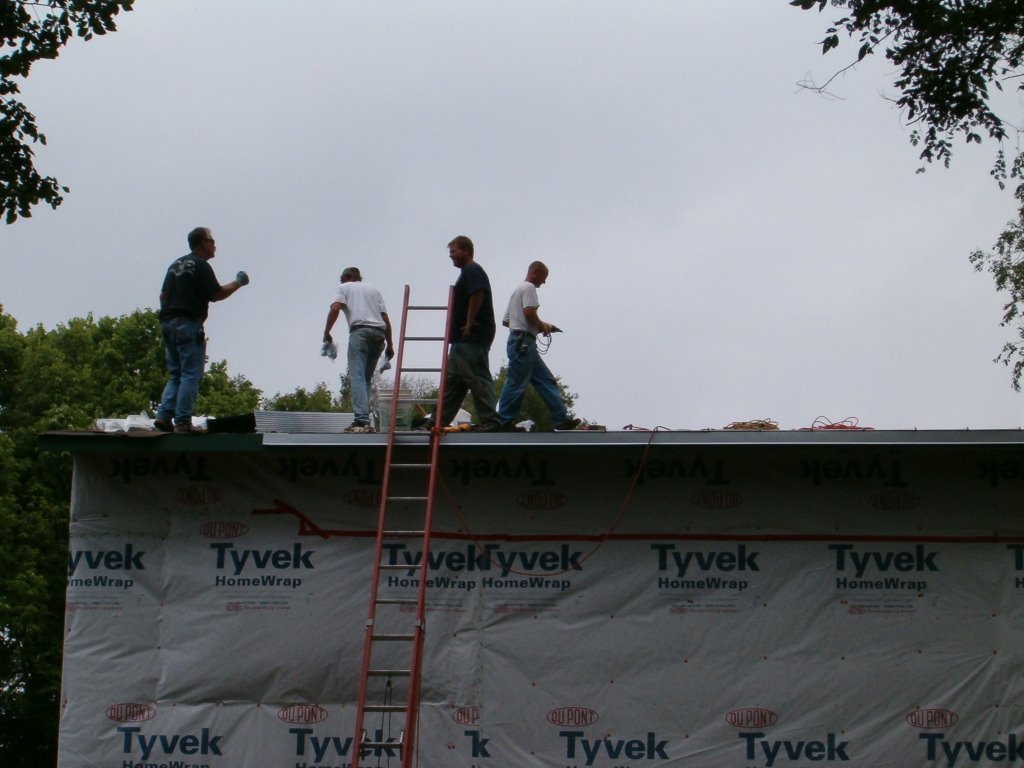
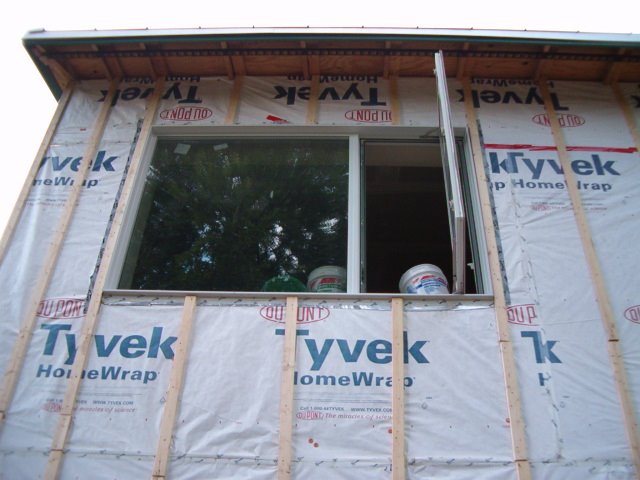
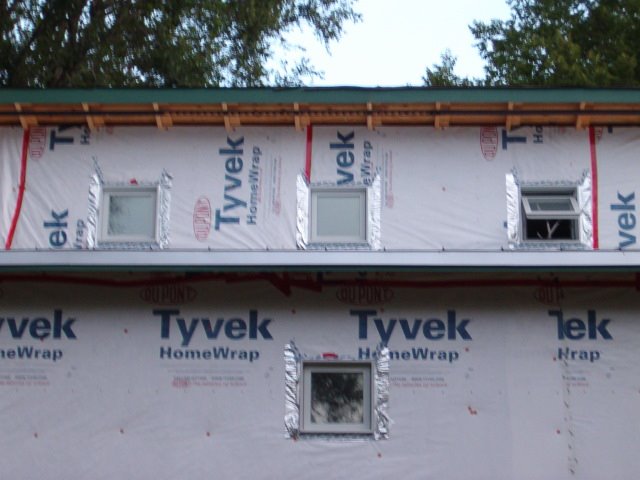
And the outside of the house is being prepared for the siding to be put on...
Sunday, August 06, 2006
Electrical
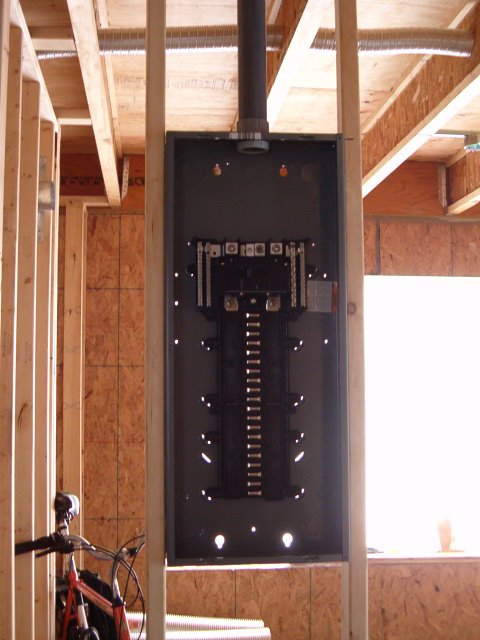
 Here you can see the fuse box for the house, an outlet and some of the wiring. The basic electrical work is done. After an inspection, the final electrical work can be completed.
Ductwork

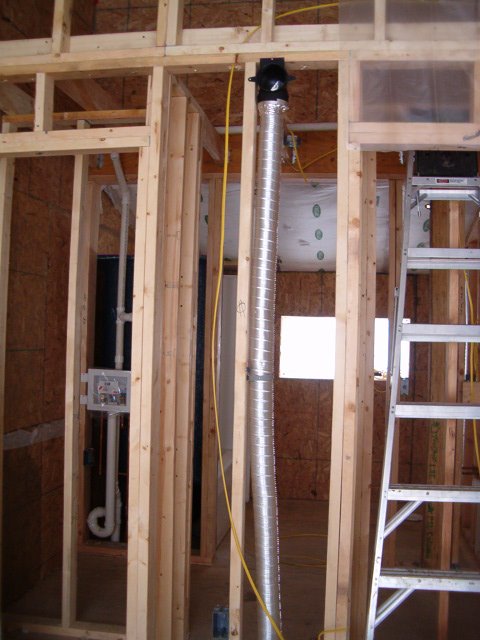
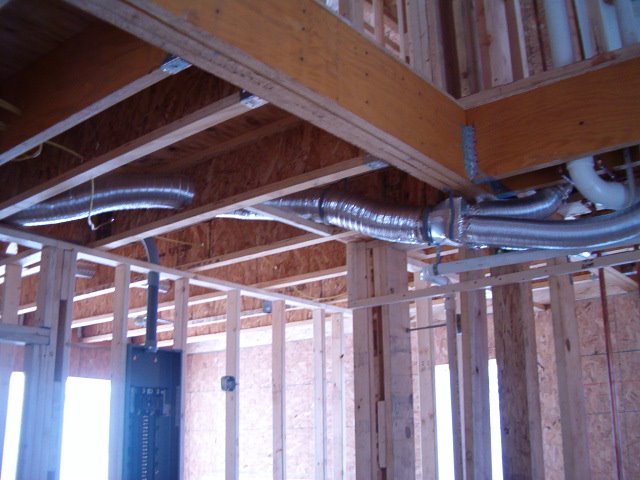 The ductwork is now in place for the heating and cooling system. All of the air in the house will be cycled through the rooms and a machine called a 'counterflow heat exchanger.' This sends exhaust air past the incoming air in such a way to 'recover' 95% of the energy (for a detailed explanation, see www.e-colab.org). This system maintains a comfortable temperature in the house with 90% of the energy use of 'traditional' homes.
Saturday, July 15, 2006
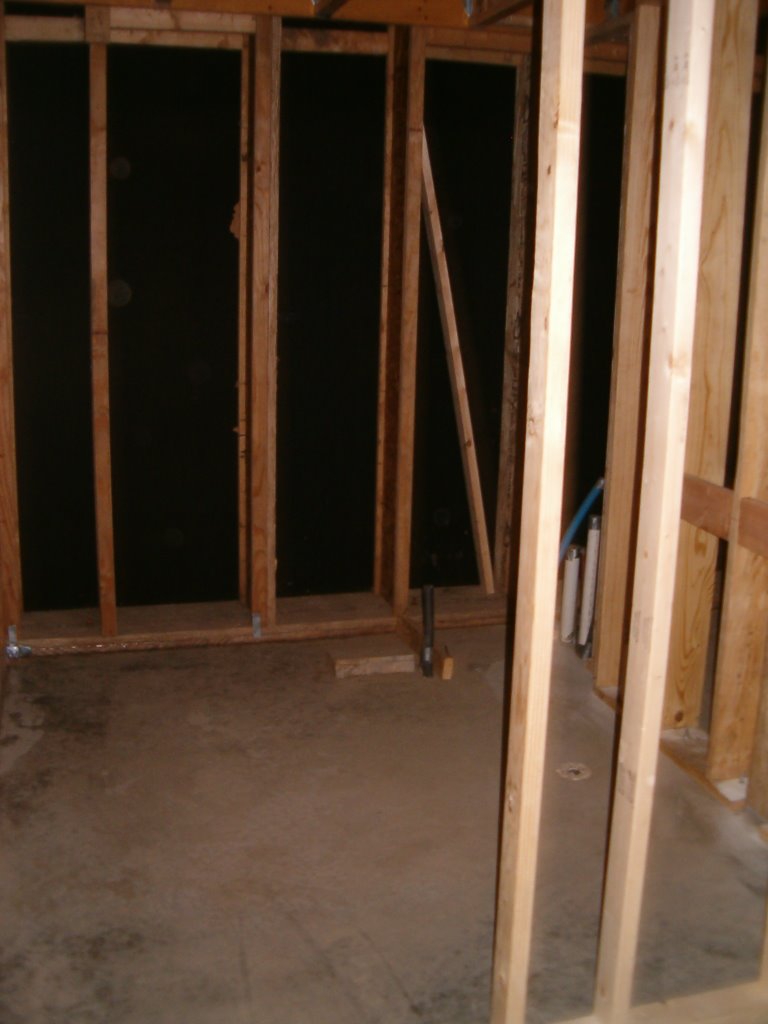
Insulation

The insulation is in. Aside from the space between 1st and 2nd floor, all of the insulation used is fiberglass blown into a netting. The four exterior walls are being covered with a layer of plywall inbetween the insulation and drywall. This is both to add structural strength to the building, act as a water seal, and to increase the effectiveness of the insulation. The ceiling will simply have drywall.
The shape of things to come

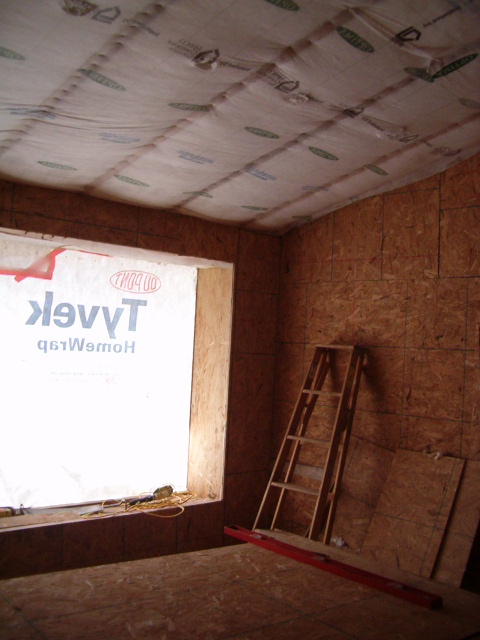
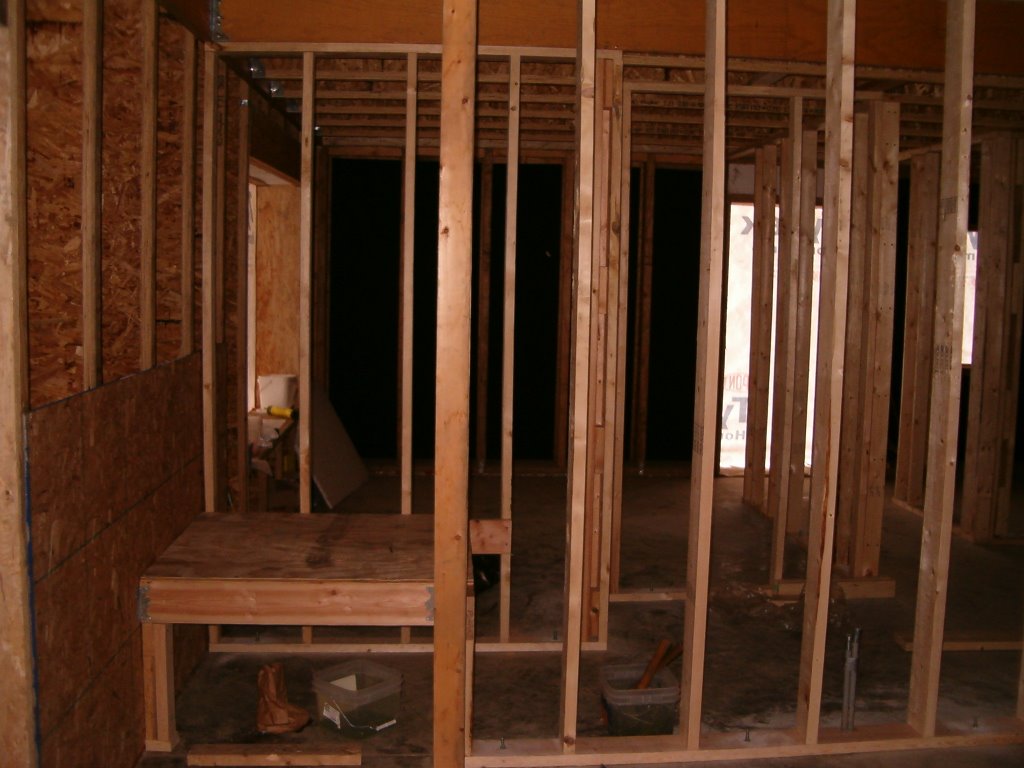
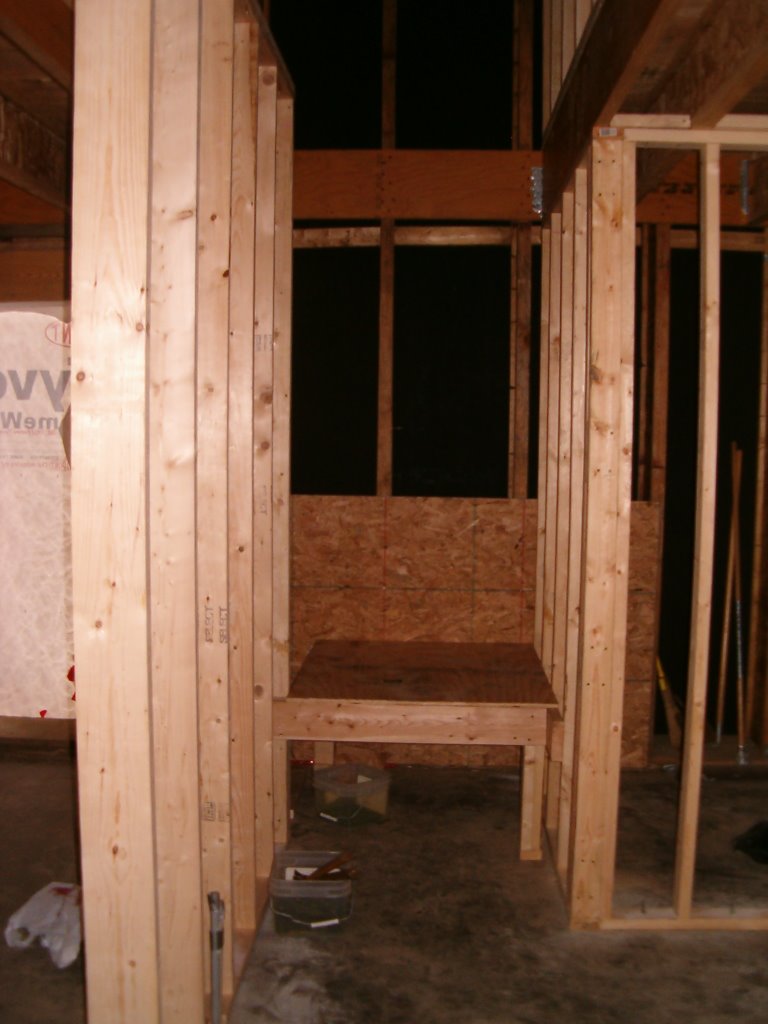
At this point in the process, the construction work is happening faster and more is happening at once. In the last weeks a number of dramatic changes have taken place. Steadily, the building looks more and more like a home every day. (Above left:... the upstairs hall from the study. Above left: the study from the hall.)
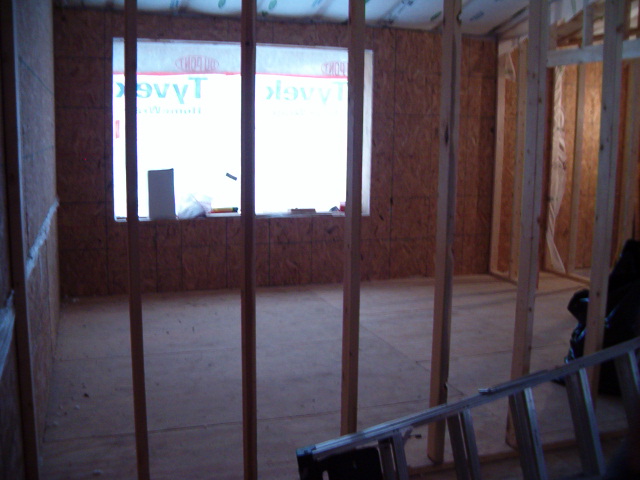 At this point in the process, the construction work is happening faster and more is happening at once. In the last weeks a number of dramatic changes have taken place. Steadily, the building looks more and more like a home every day. (Right: master bedroom from the study. Below: first floor bedroom)
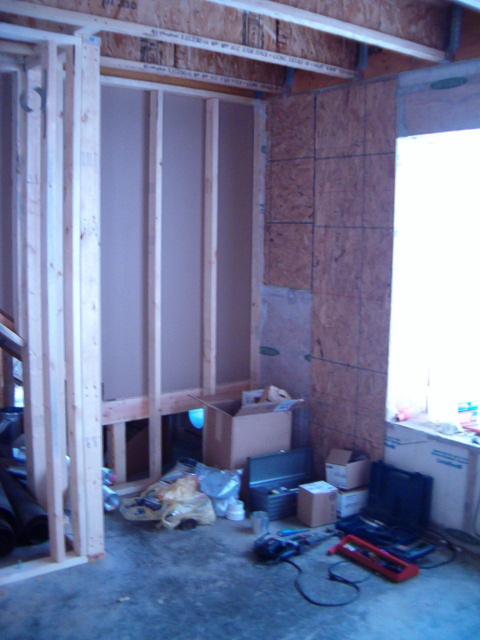
You can now walk through the house and really feel the shapes and sizes of the different rooms. Of course the drywall is yet
 to come, but a lot less is 'left to the imagination.'
Or, looking at it another way, walking through the house allows your imagination to run wild now. Seeing where the closets are, the way light falls into the space, the slant of the roof, feeling the size of rooms from various directions... you can begin to imagine people and things filling the space. Where will the bookshelves go? What use of this little study area - better to have pillows on the floor, or a desk? Whose bedroom will this be? Where will the bed go?
And already you can take in the view from different directions, seeing the beauty of the house unfold... (Left: second floor bedroom)
Staircase
 Looking from the living room...
Looking Down...
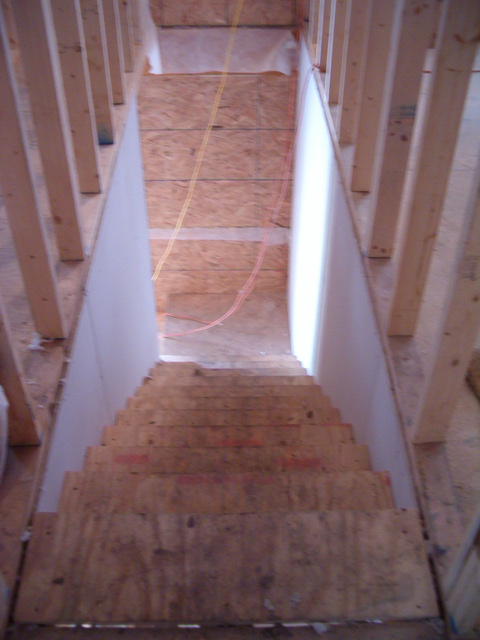
Looking Up...

Plumbing


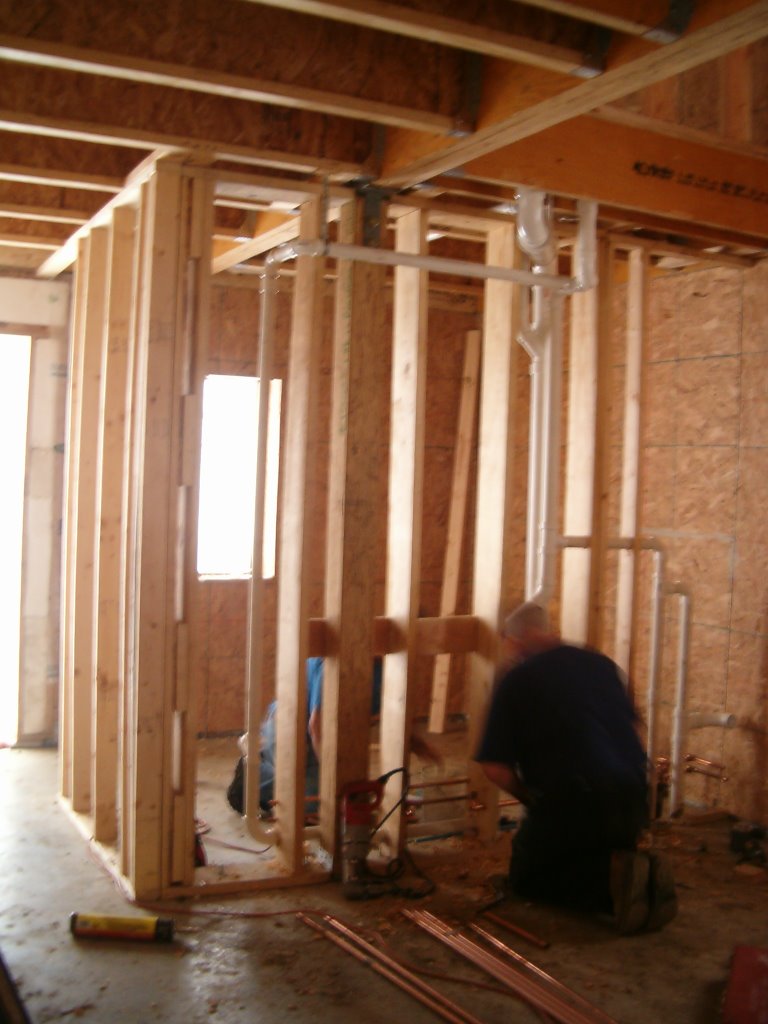

(Top right: upstairs bathroom viewed from the study. Top left: upstairs shower/tub. Bottom left: installing the drains on the first floor. Bottom right: the view of the drains from the second floor to the first)
The plumbing infrastructure is almost set
The second floor bathtub is in, and the major portion of the piping is installed.
The plumbing requires a vent through the roof and another pipe to the for the garden hose: two breaks in the exterior wall. On the roof vent, an S tube was installed just below the roof to make sure that air doesn't come into the house. The garden hose pipe is run through another PVC pipe, so that if there is any leak or freezing of the copper pipe the insulation won't get ruined.
Note that there won't be any 'bathroom fan' as the ventilation for the whole house is centralized, moving air from the outside through the living room and bedrooms and then through the kitchen and bathrooms, then out. This is an important part of the passive design, further explained on the e-colab site.
Also, you can see in the photo above the view of the bathroom from the 2nd floor study down the hall. This upstairs hallway/study area is really beautiful, flowing all the down to the kitchen.
Wednesday, June 21, 2006
Picture this...

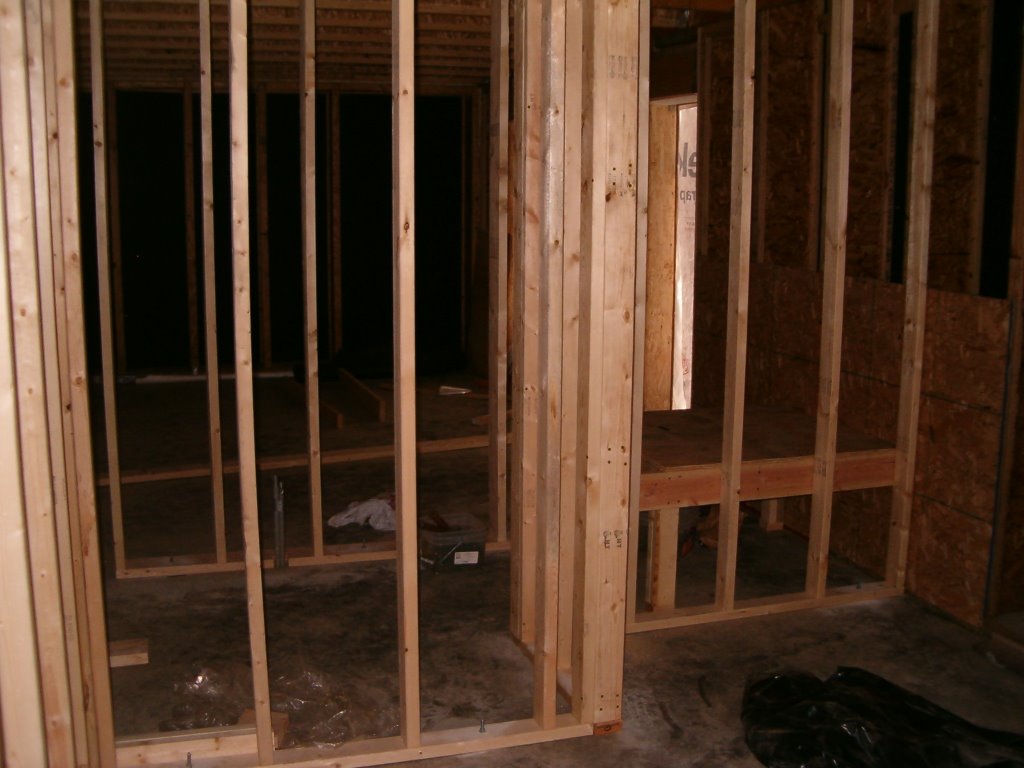
The past few weeks have mainly consisted of framing. First it was the first floor bathroom. Then there was a week break in construction. This week saw the beginning of building the staircase. Walking up stair case could be interesting, because, unlike other staircases where there is a slanted ceiling above as you go, the walls of the staircase will extend up to the second floor ceiling! The pictures are, clockwise from the top left: looking through the door of the first floor bedroom, looking from the living room at the stairs and utility closet (you can see entrance to the stairs and the landing. The utility closet will exist in the space under the stairs), the floor of the bathroom, looking from the bedroom at the stairs and utility closet (this will be walled off)
![]()